Ticket Workflows
Use this screen to add workflows and tasks to the system. The ticket workflow templates management screen is available in the Ticket Workflows module of the Ticket Settings group.
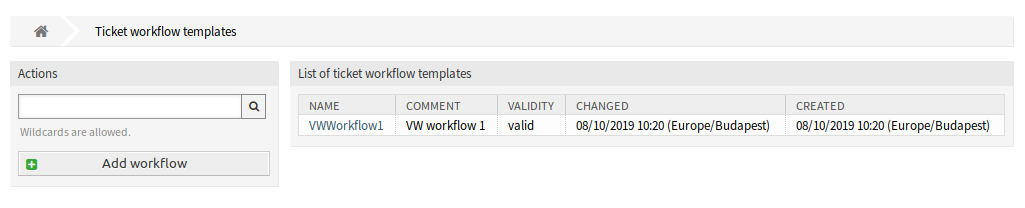
Ticket Workflow Templates Screen
Manage Ticket Workflow Templates
To add a ticket workflow template:
- Click on the Add workflow button in the left sidebar.
- Fill in the required fields.
- Click on the Save button.

Add Ticket Workflow Template Screen
Warning
Ticket workflow templates can not be deleted from the system. They can only be deactivated by setting the Validity option to invalid or invalid-temporarily.
To view the details of a ticket workflow template and go to the management screen:
- Click on a ticket workflow template in the list of ticket workflow templates.
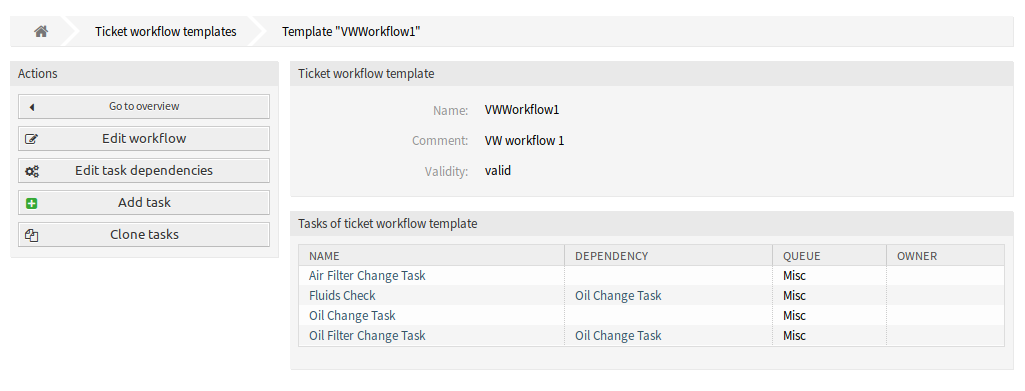
Ticket Workflow Template Details Screen
To edit a ticket workflow template:
- Click on a ticket workflow template in the list of ticket workflow templates.
- Click on the Edit workflow button in the left sidebar.
- Modify the fields.
- Click on the Save or Save and finish button.
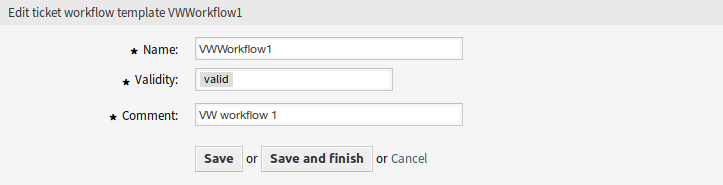
Edit Ticket Workflow Template Screen
To edit the task dependencies:
- Click on a ticket workflow template in the list of ticket workflow templates.
- Click on the Edit task dependencies button in the left sidebar.
- Add or remove task in the Dependencies column.
- Click on the Save or Save and finish button.
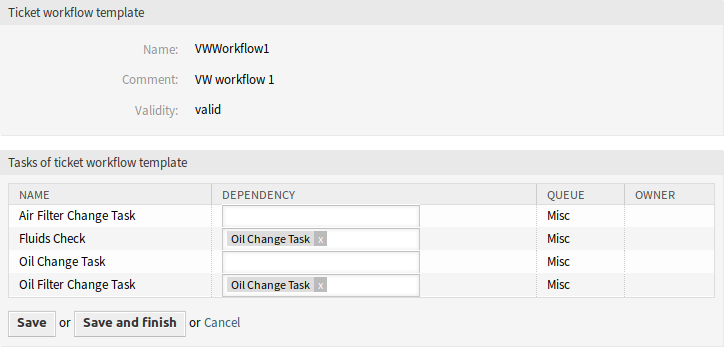
Edit Ticket Workflow Task Dependencies Screen
To add a task to a ticket workflow template:
- Click on a ticket workflow template in the list of ticket workflow templates.
- Click on the Add task button in the left sidebar.
- Fill in the required fields.
- Click on the Save button.
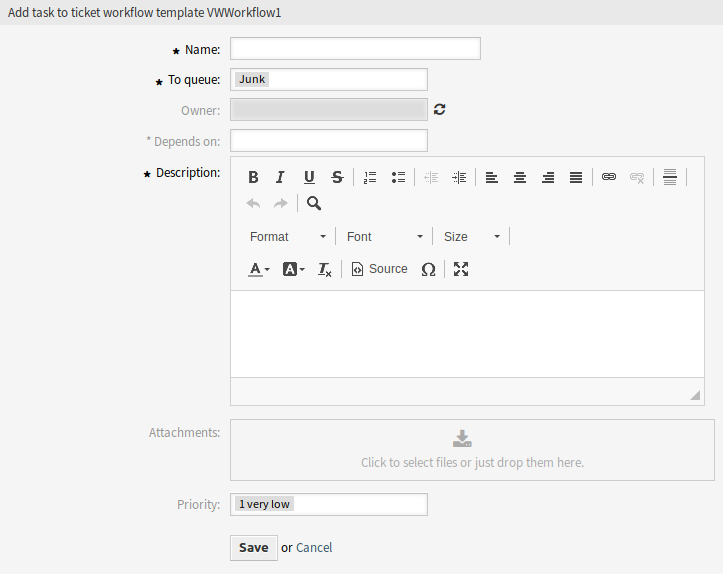
Add Ticket Workflow Task Screen
To view the details of a task in a ticket workflow template:
- Click on a ticket workflow template in the list of ticket workflow templates.
- Click on a task in the list of tasks.
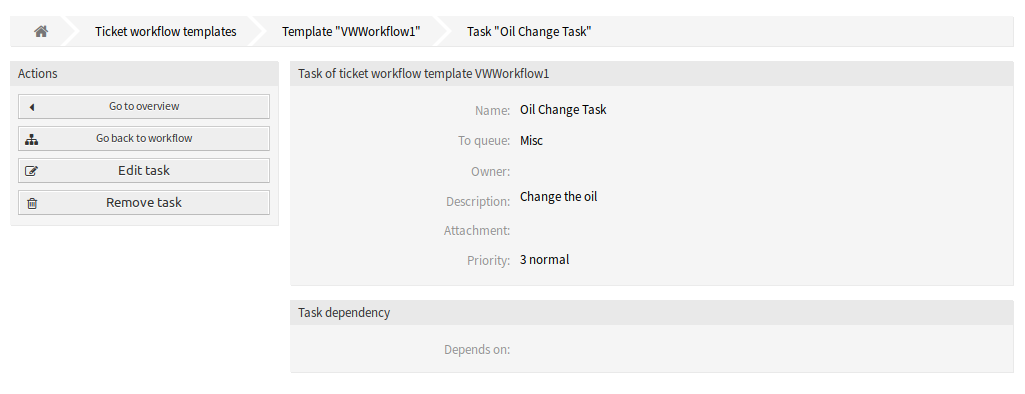
Ticket Workflow Task Details Screen
To edit a task in a ticket workflow template:
- Click on a ticket workflow template in the list of ticket workflow templates.
- Click on a task in the list of tasks.
- Click on the Edit task button in the left sidebar.
- Modify the fields.
- Click on the Save or Save and finish button.
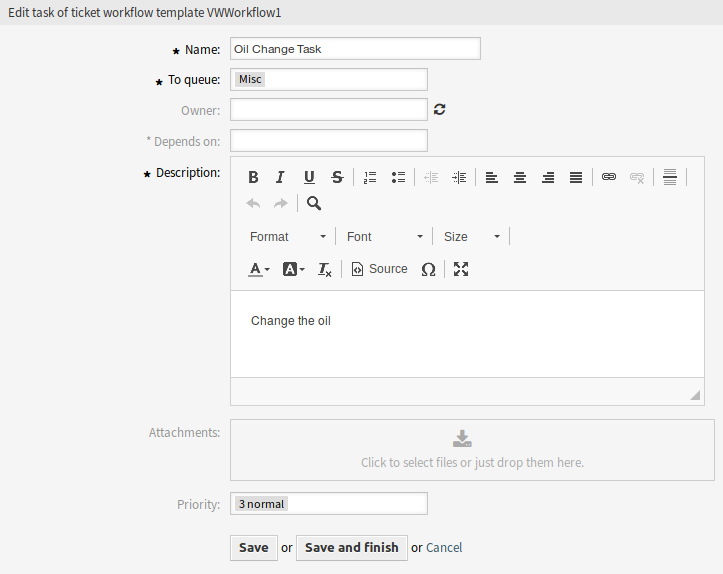
Edit Ticket Workflow Task Screen
To delete a task from a ticket workflow template:
- Click on a ticket workflow template in the list of ticket workflow templates.
- Click on a task in the list of tasks.
- Click on the Remove task button in the left sidebar.
- Click on the OK button in the confirmation dialog.
To clone a ticket workflow template:
- Click on a ticket workflow template in the list of ticket workflow templates.
- Click on the Clone tasks button in the left sidebar.
- Fill in the required fields.
- Click on the Save button.
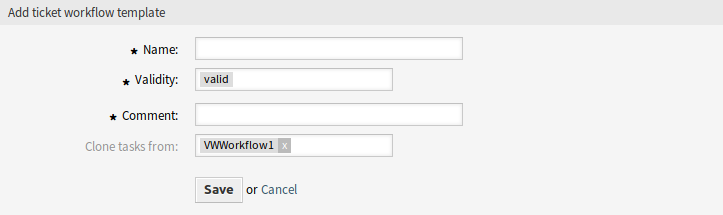
Clone Ticket Workflow Template Screen
Note
If several templates are added to the system, use the filter box to find a particular template by just typing to filter.
Ticket Workflow Template Settings
The following settings are available when adding or editing this resource. The fields marked with an asterisk are mandatory.
- Name *
- The name of this resource. Any type of characters can be entered to this field including uppercase letters and spaces. The name will be displayed in the overview table.
- Validity *
- Set the validity of this resource. Each resource can be used in OTRS only, if this field is set to valid. Setting this field to invalid or invalid-temporarily will disable the use of the resource.
- Comment *
- Add additional information to this resource. It is recommended to always fill this field as a description of the resource with a full sentence for better clarity, because the comment will be also displayed in the overview table.
- Clone tasks from
- Select an other workflow to clone its tasks from. This field is only available when using the Clone tasks button.
Workflow templates can inherit attributes and dynamic fields from the master ticket. Each ticket attribute or dynamic field to be copied from master ticket to task has to be defined in system configuration.
Ticket Workflow Task Settings
The following settings are available when adding or editing this resource. The fields marked with an asterisk are mandatory.
- Name *
- The name of this resource. Any type of characters can be entered to this field including uppercase letters and spaces. The name will be displayed in the overview table.
- To queue *
- The queue, where the new ticket will be placed to.
- Owner
- The owner is an agent, who actually works with the new ticket.
- Depends on
- Select an other task from which the current task depends on. The dependency task must be finished before starting the current task.
- Description
Longer text description of the ticket.
Note
It is not possible to use images within the description of a task. If there is a need for images within tasks, they can be uploaded separately as attachments.
- Attachments
- It is possible to add attachments to the ticket. Click on the field to add an attachment, or just drop some files here.
- Priority
- New tickets have 3 normal priority by default. Select an other priority if you want to change it.