Priorities
Sometimes tickets are not equally created. One ticket may need more focus than another. A customer may be given a higher priority by the service desk to help raise customer satisfaction in a pinch or to ensure that a long-running request receives special attention. Keeping track of these higher priority requests is important, as well as handling them quickly.
OTRS provides a traffic light system based per default five levels of priorities to handle this task.
- Blue: very low
- Green: low
- Grey: normal
- Pink: high
- Red: very high
The colors are based on the ID (very low being ID 1) in the database. Changing the names should be done with this in mind. New priorities have the color gray.
Use this screen to add priorities to the system. A fresh OTRS installation contains five default priority levels. The priority management screen is available in the Priorities module of the Ticket Settings group.
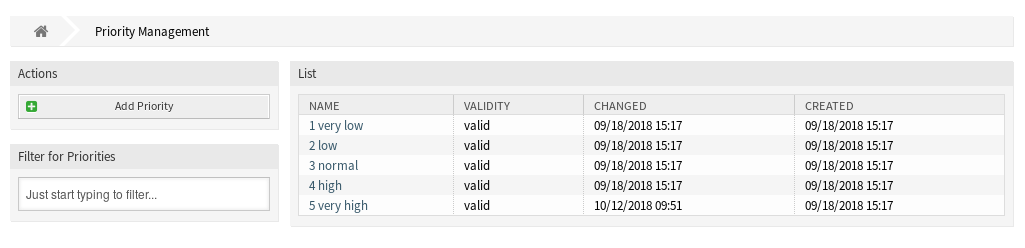
Priority Management Screen
Manage Priorities
Note
When creating a customized list of priorities, please keep in mind that they are sorted alphabetically in the priority selection box in the user interface.
To add a priority:
- Click on the Add Priority button in the left sidebar.
- Fill in the required fields.
- Click on the Save button.

Add Priority Screen
Warning
Priorities can not be deleted from the system. They can only be deactivated by setting the Validity option to invalid or invalid-temporarily.
Note
It’s recommended to limit your system to 5 priorities or less and reuse the current 5 to keep the use of the traffic light system.
To edit a priority:
- Click on a priority in the list of priorities.
- Modify the fields.
- Click on the Save or Save and finish button.
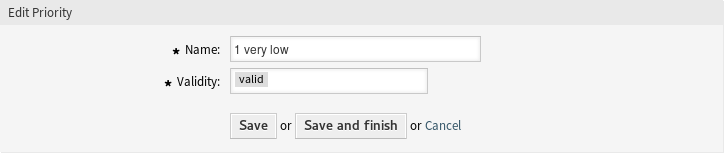
Edit Priority Screen
Note
If several priorities are added to the system, use the filter box to find a particular priority by just typing the name to filter.
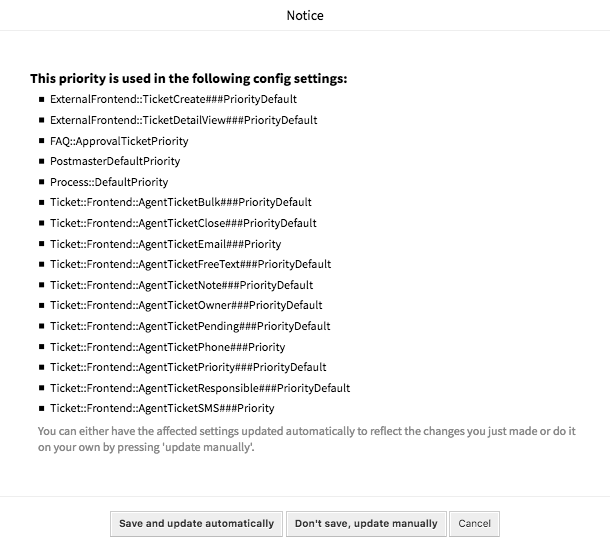
Priority Validation Dialog
If you change the name of a priority which is used in the system configuration, a validation check will warn you and give you the following options:
- Save and update automatically
- Apply the change and also update the affected settings.
- Don’t save, update manually
- Apply the change, but don’t update the affected settings. The updates need to be done manually.
- Cancel
- Cancel the action.
Warning
Changing the name of this object should be done with care, the check only provides verification for certain settings and ignores things where the name can’t be verified. Some examples are dashboard filters, access control lists (ACLs), and processes (sequence flow actions) to name a few. Documentation of your setup is key to surviving a name change.
Priority Settings
The following settings are available when adding or editing this resource. The fields marked with an asterisk are mandatory.
- Name *
- The name of this resource. Any type of characters can be entered to this field including uppercase letters and spaces. The name will be displayed in the overview table.
- Validity *
- Set the validity of this resource. Each resource can be used in OTRS only, if this field is set to valid. Setting this field to invalid or invalid-temporarily will disable the use of the resource.